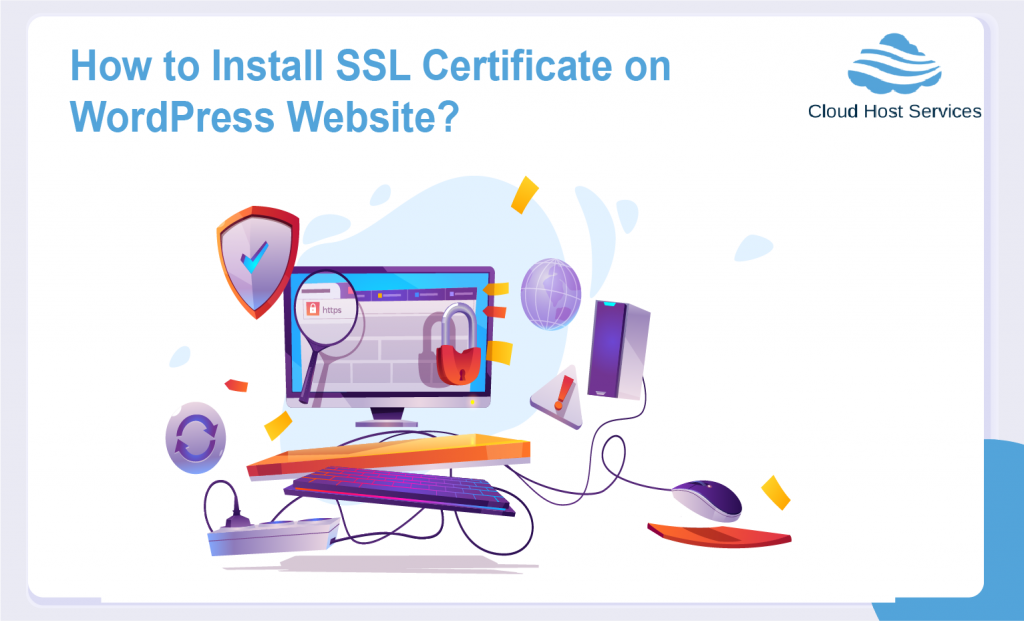
As the environment becomes increasingly digital, personal privacy threats are also rising. We provide private information whenever we log into a website, which should be encrypted to prevent easy access and viewing. The website can use secure HTTPS and secure socket layers to ensure that the link is secure and data transmission is encrypted . This article discusses that how to add or install SSL certificates on your WordPress site.
By pretending that they use a secure connection, malicious entities may try to cheat their way into your website traffic to gain access to files and passwords. You will be able to safeguard your site traffic from hackers and others with malicious intent by using the principles of HTTPS .
What is SSL?
SSL is the standard security technology used for the creation of an encrypted and secure server-browser link. This type of link ensures that all information being transferred to the browser from the web server remains secure and protected.
It allows secure transmission of sensitive and vital information such as social security, credit card information, username and password. SSL is an industry standard for security certificates, and millions of people use it to prevent hackers and phishing from falling victim to their websites.
In addition, SSL is a security protocol that determines the encryption variables for both the link and the data being transmitted. It is also a transparent website protocol in which users are only alerted when a browser displays a padlock icon, making it an extremely simple end-user security feature.
What is the Importance of SSL?
The reason behind the importance of SSL is mainly to keep encrypted and unreadable sensitive information sent over the Internet to ensure that it can only be interpreted by the intended recipient.
It also provides proper authentication, aside from encryption. Authentication is used as a safeguard when sending sensitive information to the correct server. The primary importance of the SSL certificate and the use of HTTPS is that everything that is sent to the internet is secure and secure. The use of the appropriate PKI (Public Key Infrastructure) is obtained from a trusted provider to achieve this.
Prior to Adding SSL and HTTPS in WordPress
There are certain steps you need to do before adding SSL and HTTPS to your website in order to successfully install or add an SSL certificate to your WordPress website.
1. Buy an SSL certificate
You need to purchase an SSL certificate to start off. With their subscriptions, some WordPress hosting services provide free SSL. You can also buy third-party SSL certificates in the range of $50 and $200 from hosting providers.
2. Install certificate on server
Ask your web hosting provider to install it on your server once you have purchased your SSL certificate. You can choose to install a plugin for WordPress to install your SSL certificate for you.
3. Prepare WordPress site for SSL certificate
Here are the steps for setting up WordPress so that HTTPS can be used:
- a) Update the URL of your site if your website is new or if you are starting a new site.
- b) To update your URL, go to Configuration and then click General. Update WordPress by updating the URL address fields of your site.
- c) If you add SSL to an existing website, then by redirecting it from HTTP to HTTPS, set up WordPress SSL.
- d) Add the following code to your file with .htaccess:
<IfModule mod_rewrite.c>
RewriteEngine On
RewriteCond %{SERVER_PORT} 80
RewriteRule ^(.*)$ https://www.yoursite.com/$1 [R,L]
</IfModule>
(To replace yoursite.com with your own site URL)
Congratulations! On your WordPress website, you have successfully set up your HTTPS.
In the meantime, here are the steps for setting up HTTPS on specific pages on your website.
- a) Download, install and activate the HTTPS WordPress plugin.
- b) Once activated, in your WordPress admin interface, click HTTPS to visit the settings page of the plugin.
- c) On the Settings Page, enter the SSL host. This is merely your domain name in most instances. However, if your site is connected to a subdomain, for this step, use the root domain.
- d) Tick the “Force SSL Exclusively” checkbox. Only on certain pages where you want to have the SSL option, check the box.
- e) On user account pages, click on the “Save Changes” button to save the plugin settings.
- f) To make sure that HTTPS is running in selected pages, edit the pages in question by checking the boxes beside Force SSL.
Once you have finished all of the sites, you should have successfully added HTTPS on your WordPress website.
Conclusion
You can already strengthen your WordPress site’s security in just a few steps. The use of HTTPS plugins can make the process much more convenient and less technical than you might have imagined. Your customers will feel much safer in transacting with your website by securing your website and will lead them in the long run to become trusting partners.
Need more information?
Our expert team is here to help with any questions you have regarding our products or services.